


Indian Railways has introduced a significant update for passengers booking Tatkal tickets online. In a move aimed at improving transparency and curbing misuse by agents and touts, IRCTC now requires Aadhaar-based OTP verification for all Tatkal bookings. While this step brings greater accountability to the system, it also places more responsibility on individual travellers to complete the process accurately.
Yet booking a ticket is only one part of the journey. Equally important is staying informed about your PNR status—a detail that many overlook until problems arise. During peak travel seasons or on high-demand routes, tickets often fall into RAC (Reservation Against Cancellation) or waitlist categories. Even confirmed bookings aren't immune to changes: coach positions can be reshuffled, berth numbers reassigned, and—perhaps most unpredictably—even train schedules can shift without notice.
Your PNR is more than a number—it’s a live record of your reservation details, coach assignment, and journey status. Checking it regularly, especially within 12 to 24 hours of departure, can help you avoid last-minute confusion and ensure a smoother travel experience. This is particularly vital if you’re travelling with family, elderly passengers, or under tight time constraints.
Whether you're planning your next train trip or preparing to board, this guide will take you through the updated Tatkal booking process—and show you exactly how to stay informed at every step.
 Representative Image
Step 1: Link Your Aadhaar with IRCTC — The New Starting Point
Before booking any Tatkal ticket, you must first verify your Aadhaar with your IRCTC profile. This step is mandatory and unlocks access to Tatkal booking.
How to do it:
This is a one-time process, but crucial to proceed with any Tatkal reservation.
Step 2: Plan Your Journey and Choose the Right Train
With your Aadhaar linked, it’s time to search for your route and train. This part of the process remains familiar but requires precision—Tatkal tickets sell out within minutes.
What to do:
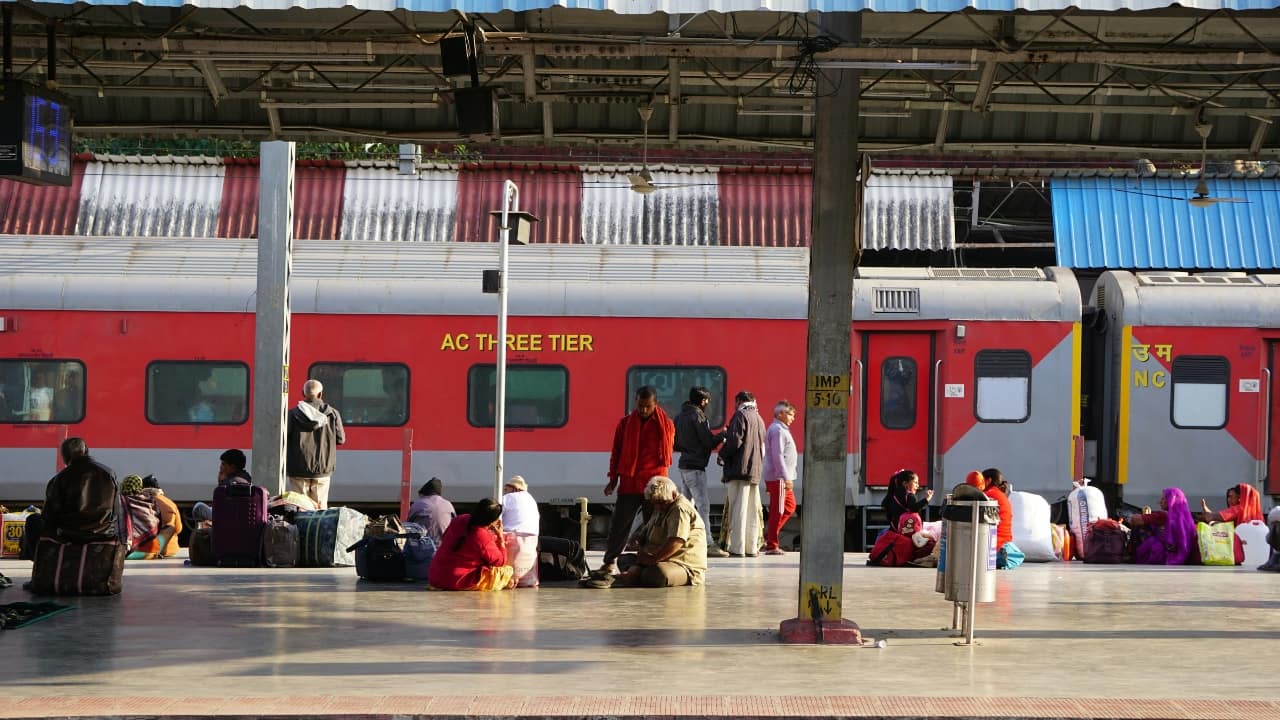 Tatkal ticket booking opens at 10 AM for AC classes and 11 AM for non-AC classes, one day before the date of travel. (Image: Unsplash)
Step 3: Enter Passenger Details and Authenticate with Aadhaar OTP
Once you select your train, you’ll be asked to fill in passenger details. This is also where Aadhaar verification becomes active.
What happens here:
This step ensures transparency and is required for every passenger on the booking.
Step 4: Make Payment and Secure Your E-Ticket
Now that the verification is complete, you’ll move on to payment. This is the most time-sensitive stage—delays can cost you the booking.
What to keep ready:
Step 5: Easy Ways to Check Your PNR Status
Verifying your PNR status is quick and can be done through multiple platforms:
Option 1: IRCTC Website
Option 2: SMS to 139
Option 3: Mobile Apps
Checking your PNR takes less than a minute—and can help avoid unnecessary stress on the day of travel.
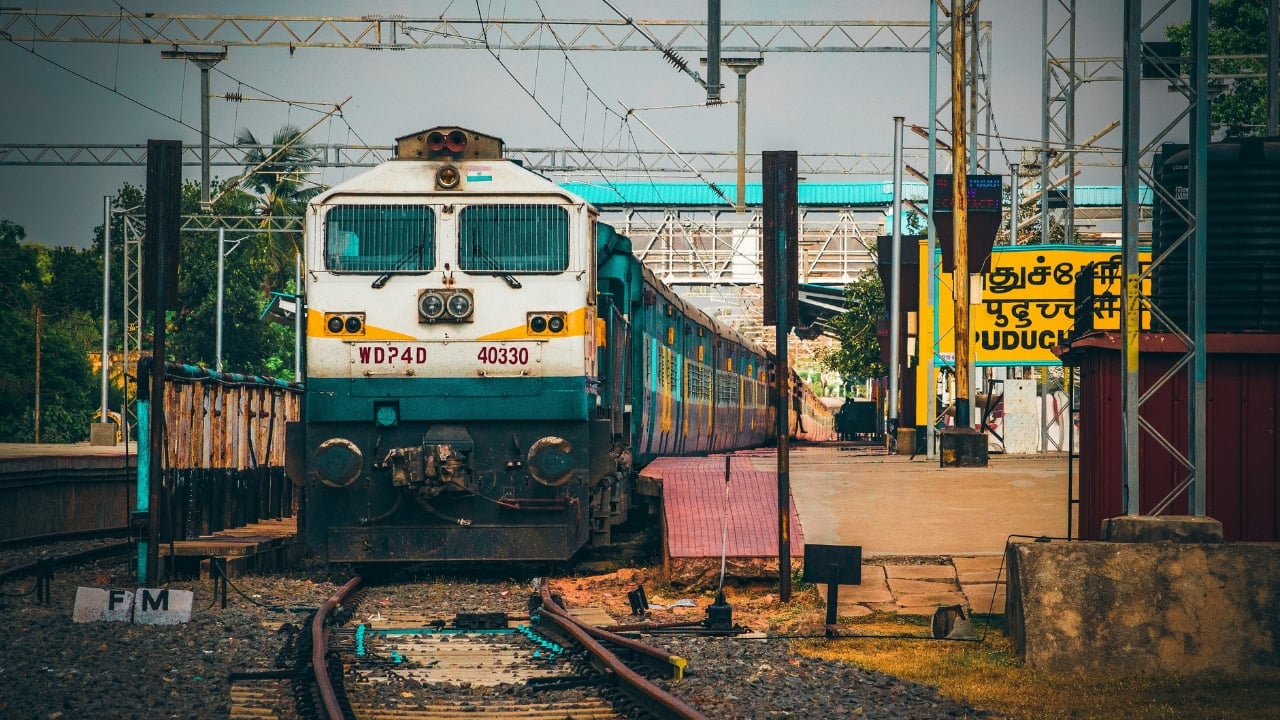 Image: Unsplash
The Aadhaar OTP rule is a necessary shift toward accountability in Tatkal bookings. While the process might feel more structured, it ultimately puts control in the hands of the traveler—not the agent. By following the steps above, you not only reserve your seat but also stay ahead of last-minute surprises.
And as every seasoned traveler knows—preparation is half the journey. So link your Aadhaar, book with awareness, and never forget to check your PNR before you pack your bags.

Discover the latest Business News, Sensex, and Nifty updates. Obtain Personal Finance insights, tax queries, and expert opinions on Moneycontrol or download the Moneycontrol App to stay updated!
Find the best of Al News in one place, specially curated for you every weekend.
Stay on top of the latest tech trends and biggest startup news.


